This guide is designed to assist you in creating a draft SOA and finalising your SOA document. Before you can generate an SOA document you must complete each relevant app within your Hero360 client file.
To create an SOA document, firstly select the required client file, then select the appropriate App, eg; Cashflow, Insurance Cover, Super, Accumulation Goal, Investments, Compare investments & Estate Planning.
1. Complete all relevant App Adviser statements
Select the “Show Adviser Statement” check box within each client file App to display the Adviser statement text box. Please see the below screen shots for where to locate the Adviser statements in each section.
Cashflow - Financial Position & Overall Position Summary & Total Net Position Summary.
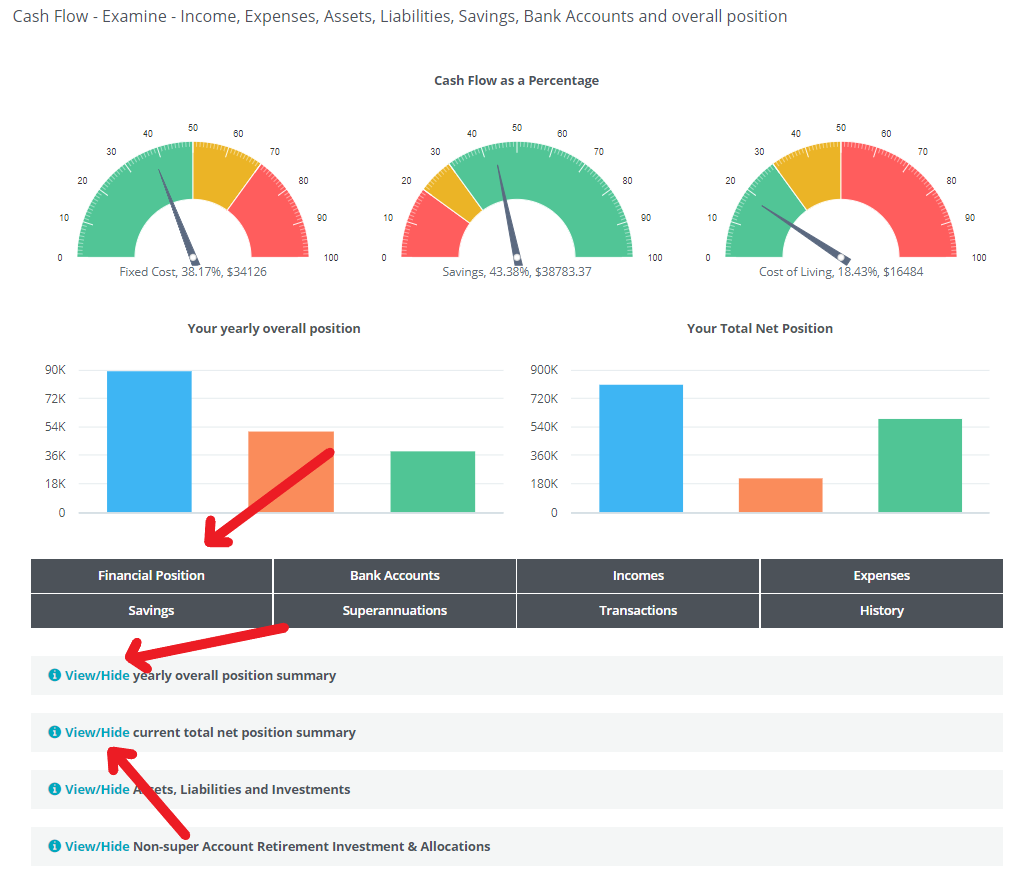
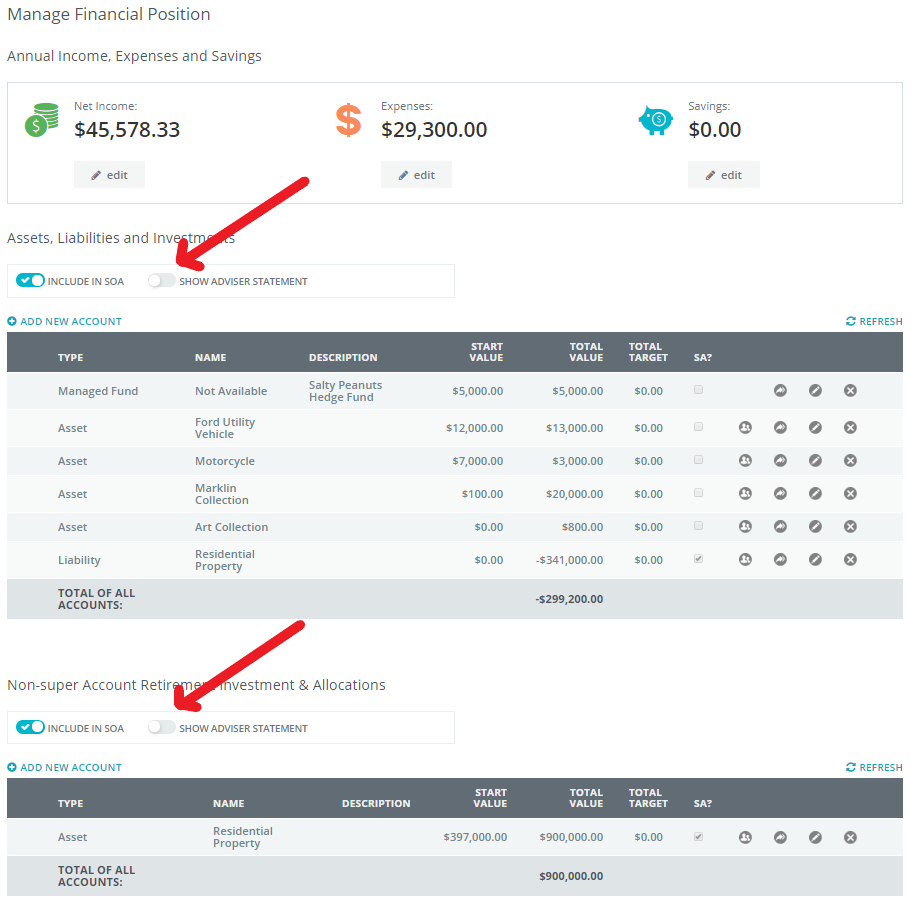
Cashflow - Financial Position.
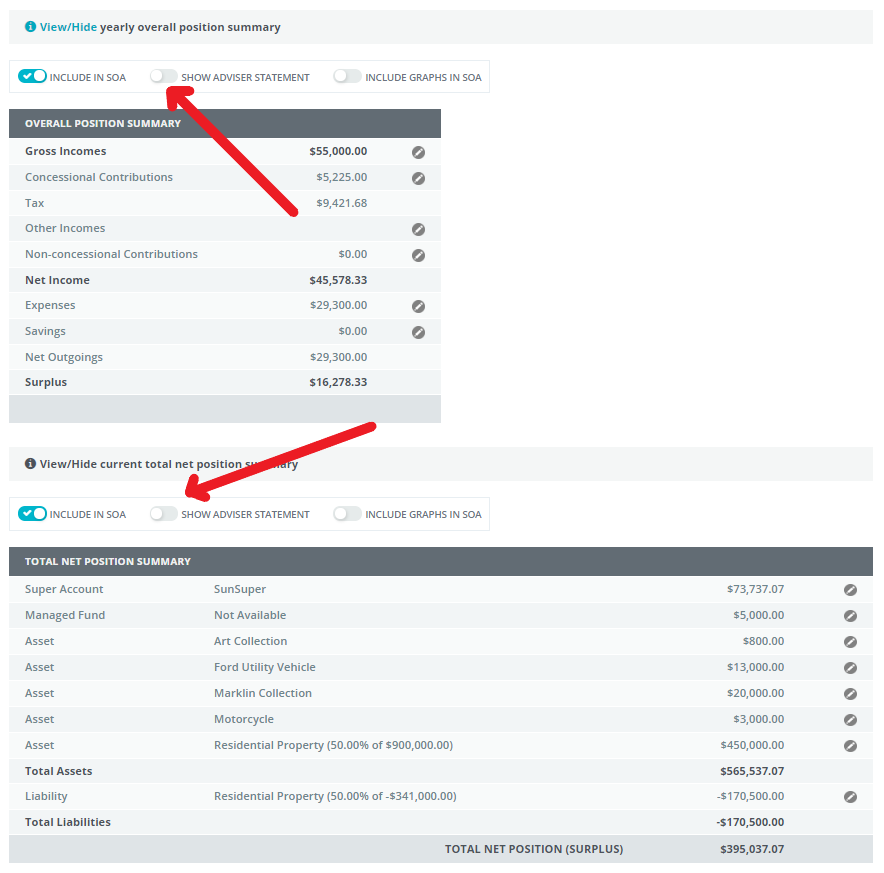
Cashflow - Overall Position Summary & Total Net Position Summary.
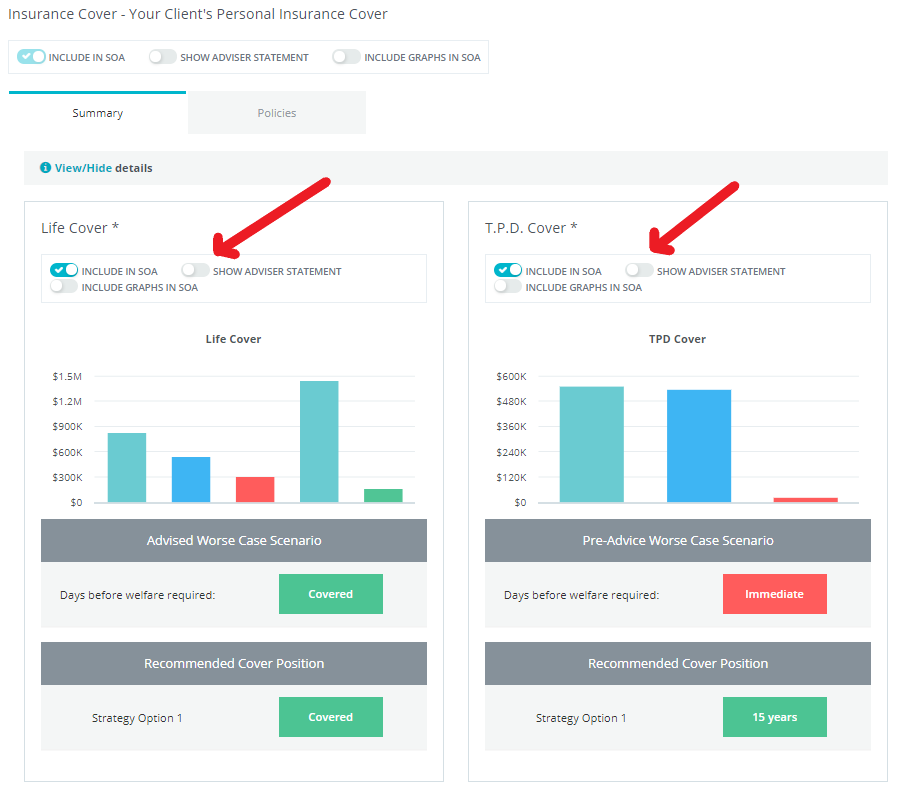
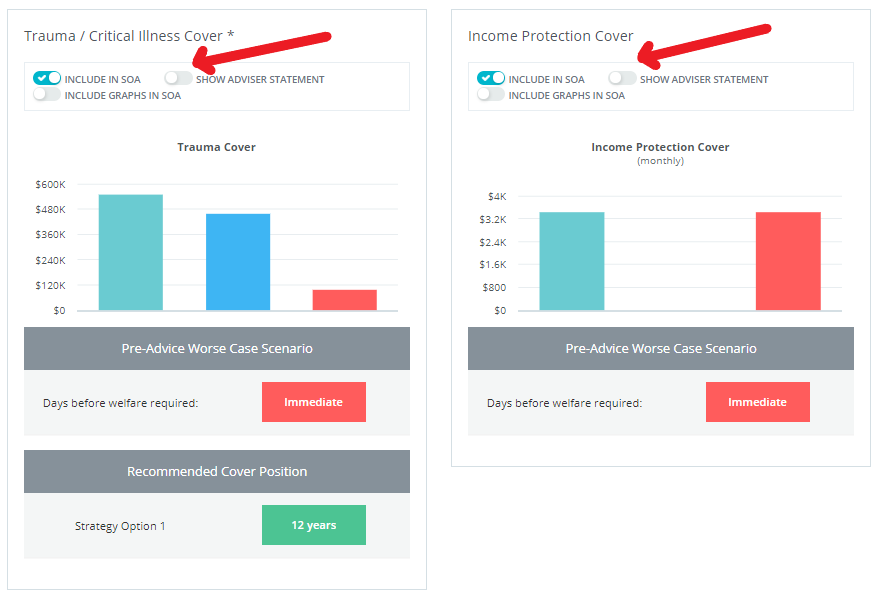
Insurance & Each type of insurance.
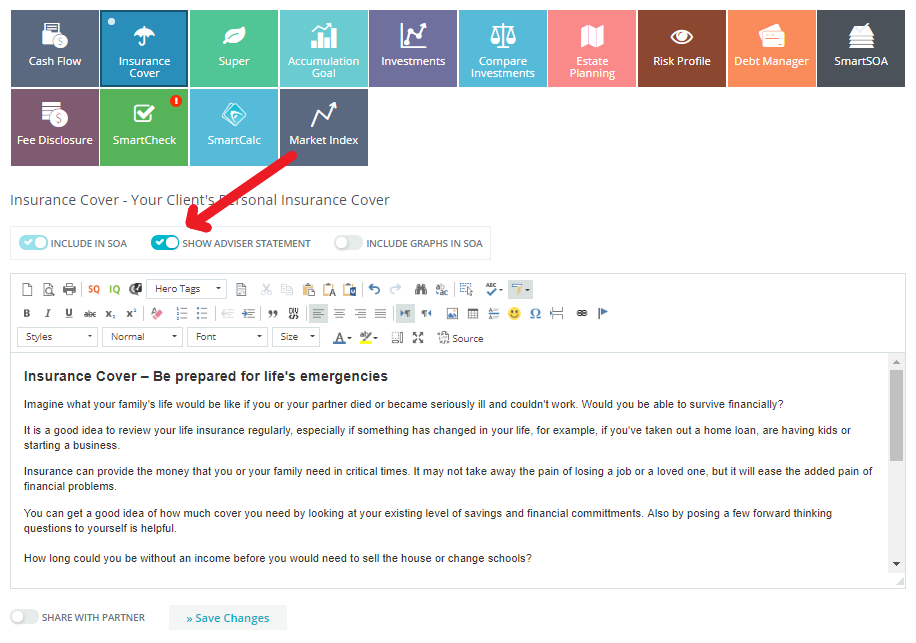
Insurance - Your Client’s Personal Insurance Cover
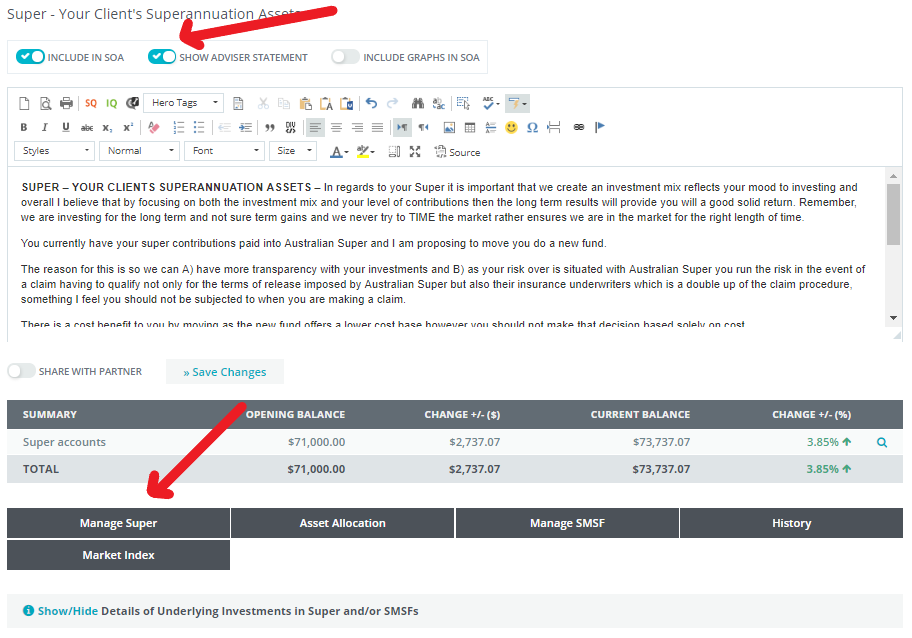
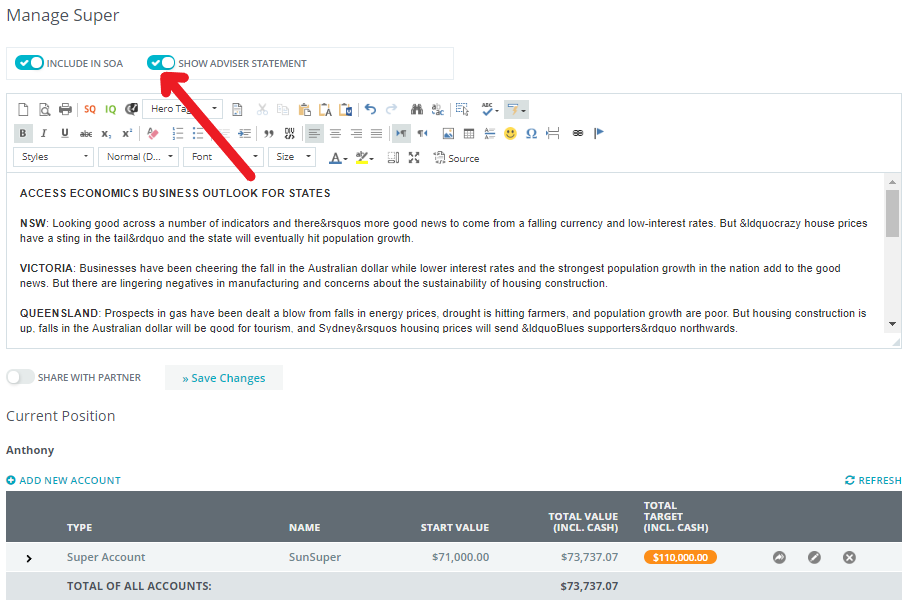
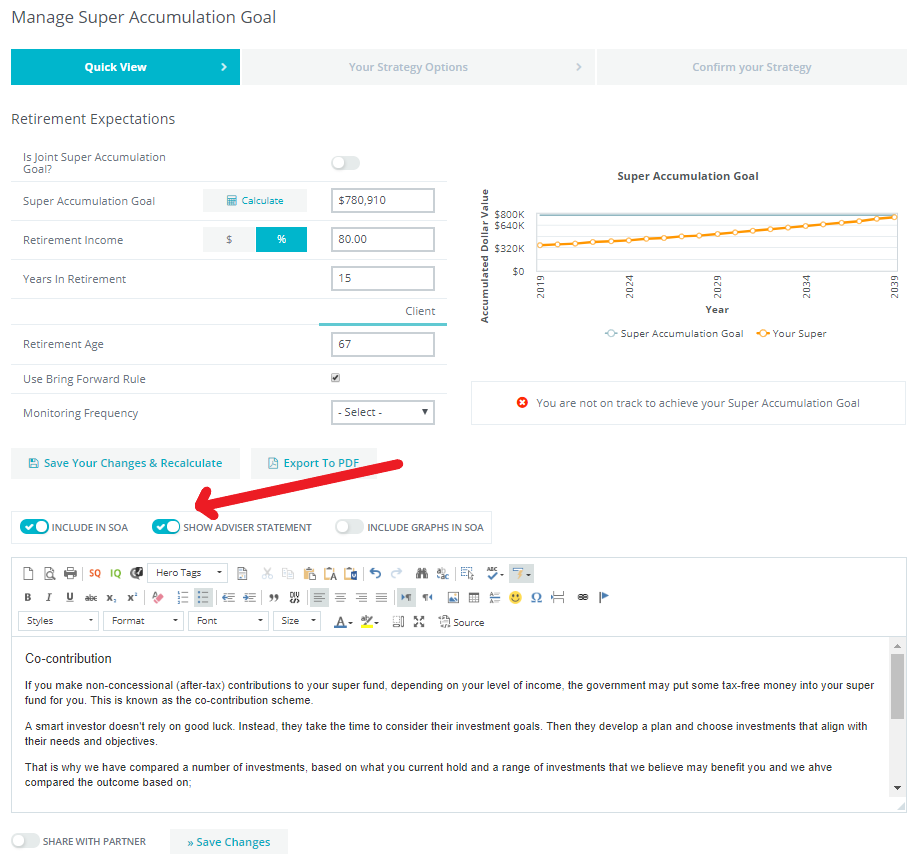
Super & Manage Super.
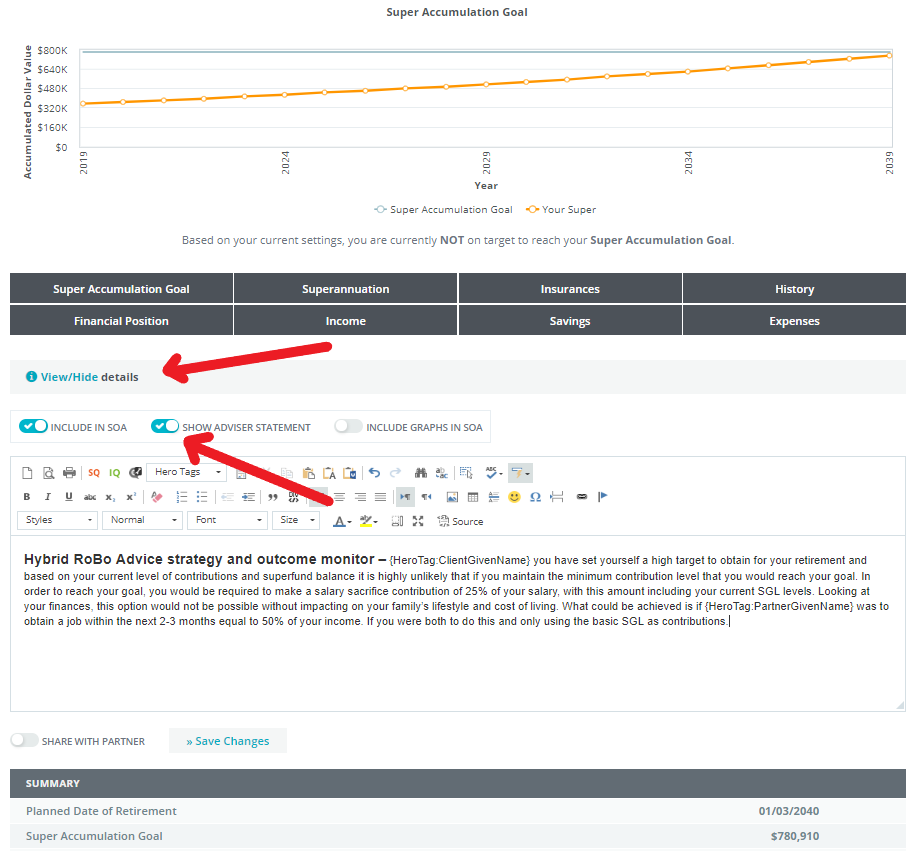
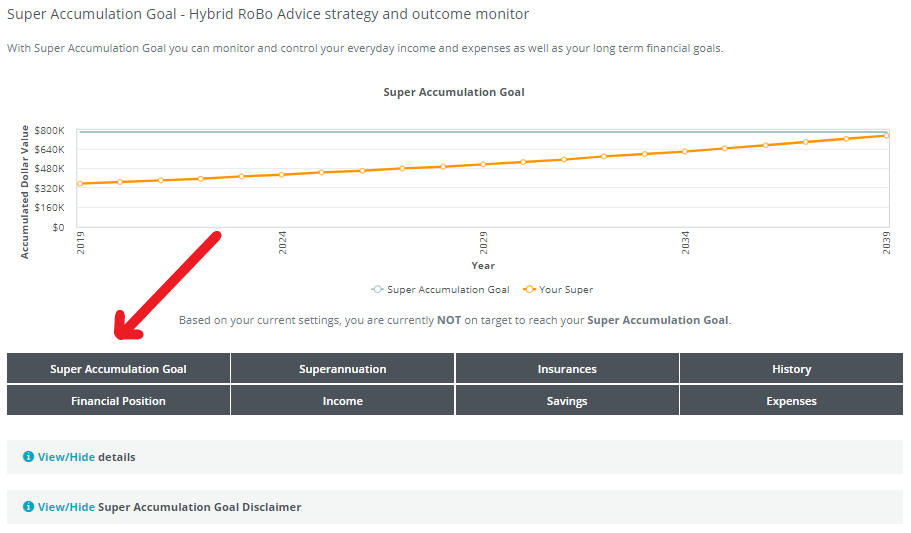
Accumulation Goal (View Details to display summary) & Manage Super Accumulation Goal.
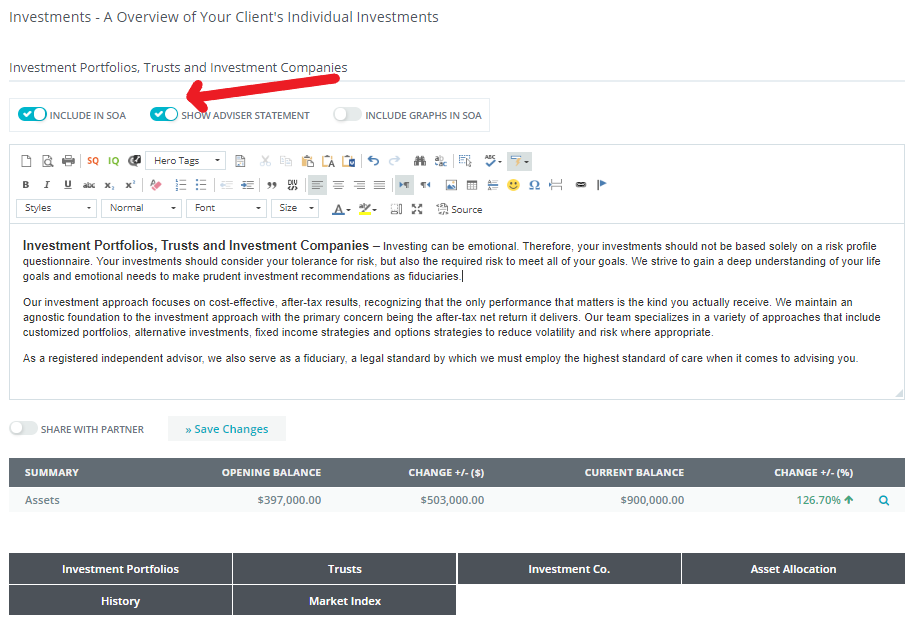
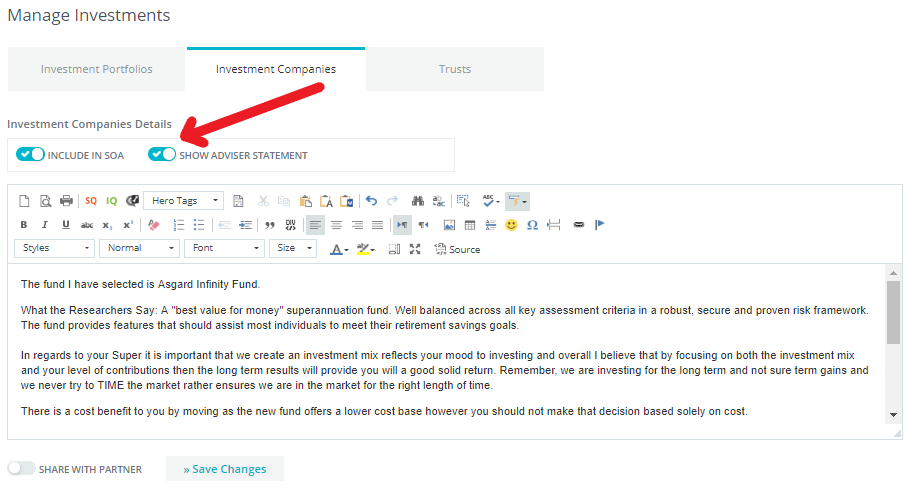
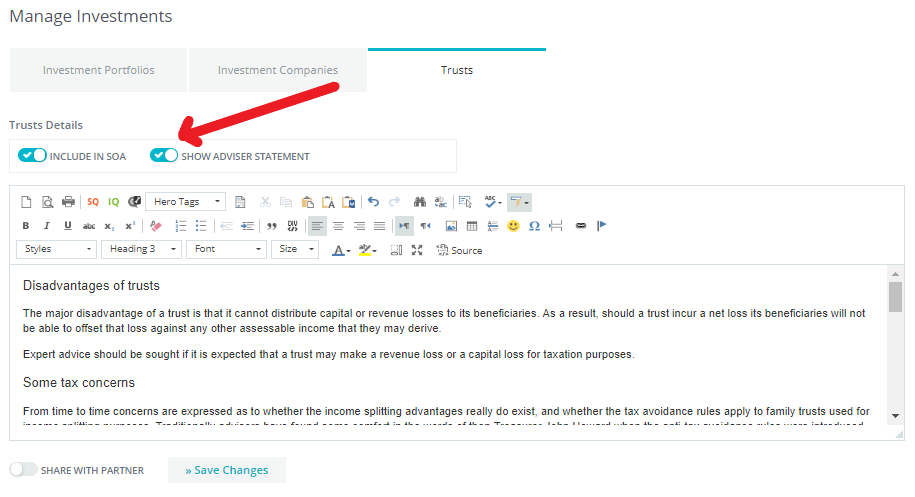
Investments & investment Portfolios, Investment Companies, Trusts.

Pensions (App not yet activated)
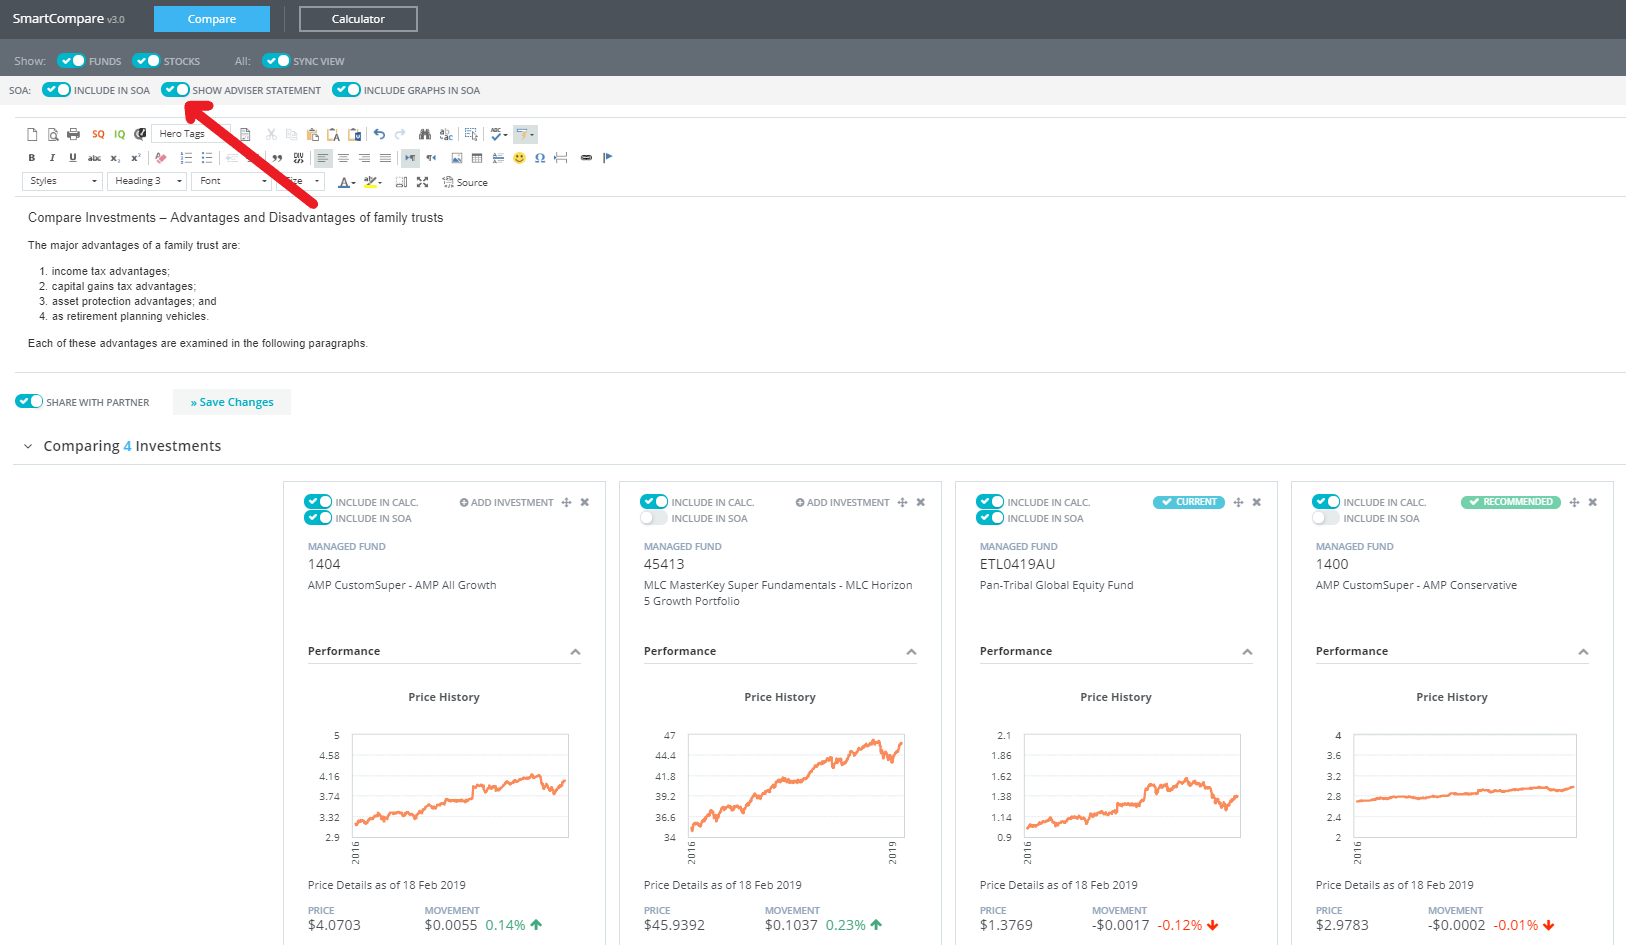
Compare Investments – Compare your client’s investments within the app to display the Adviser Statement section.
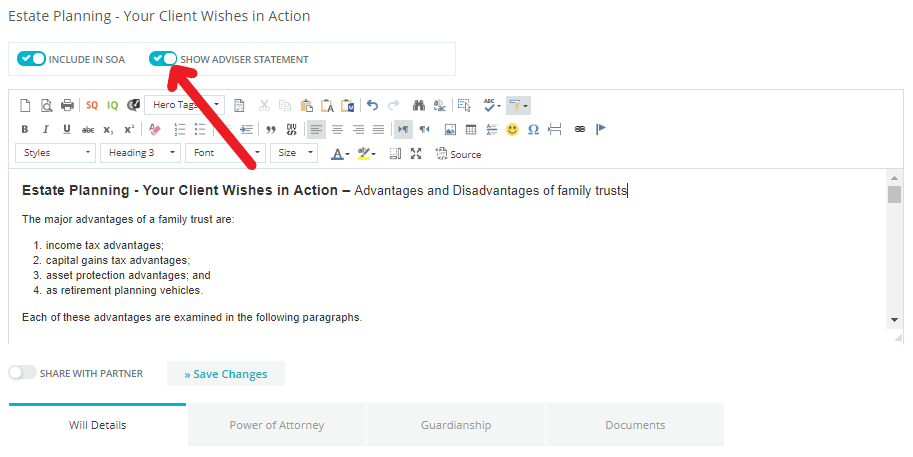
Estate Planning
2. SmartSOA - Select SmartSOA to complete your preamble statements

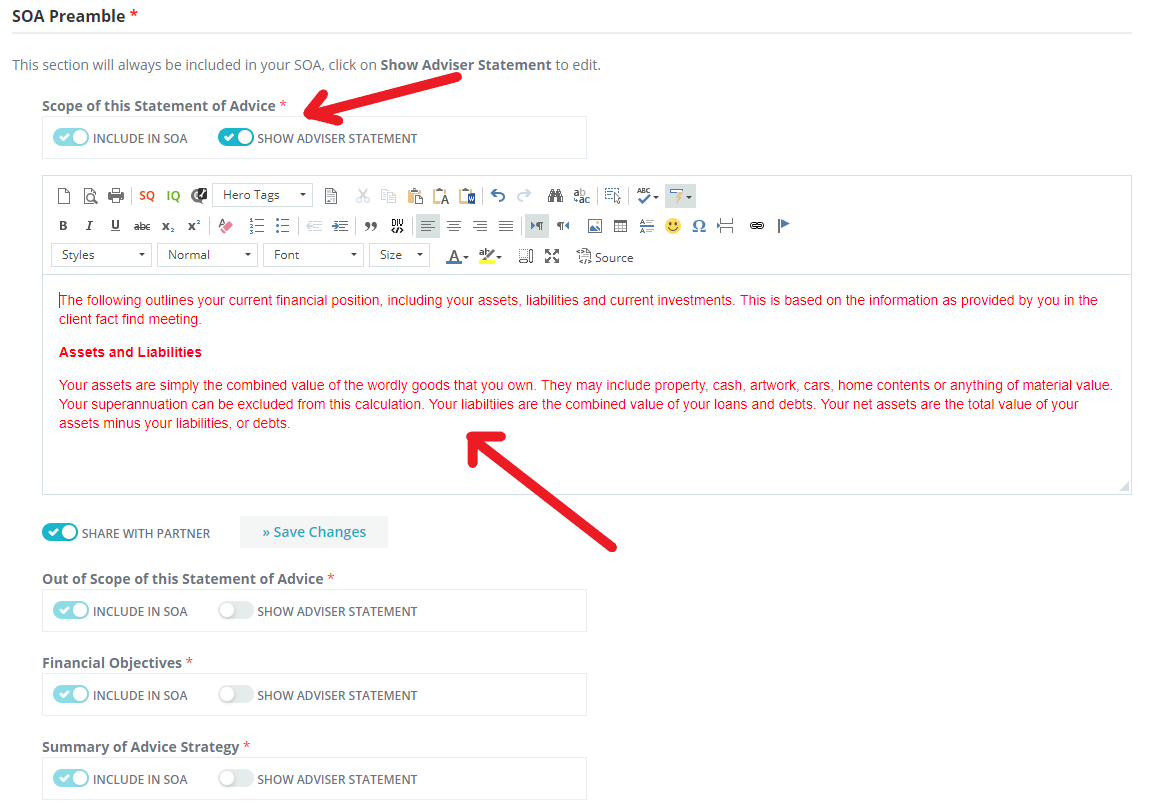
3. SOA Preamble
Complete the Review Adviser Statements by clicking on the “Show Adviser Statement” beside each Adviser Statement section. If the SOA is to be shared with the client’s partner, select “Share with Partner” to tick the box. Remember to save your changes when you have entered notes into the text box. Repeat per Adviser Statement section.
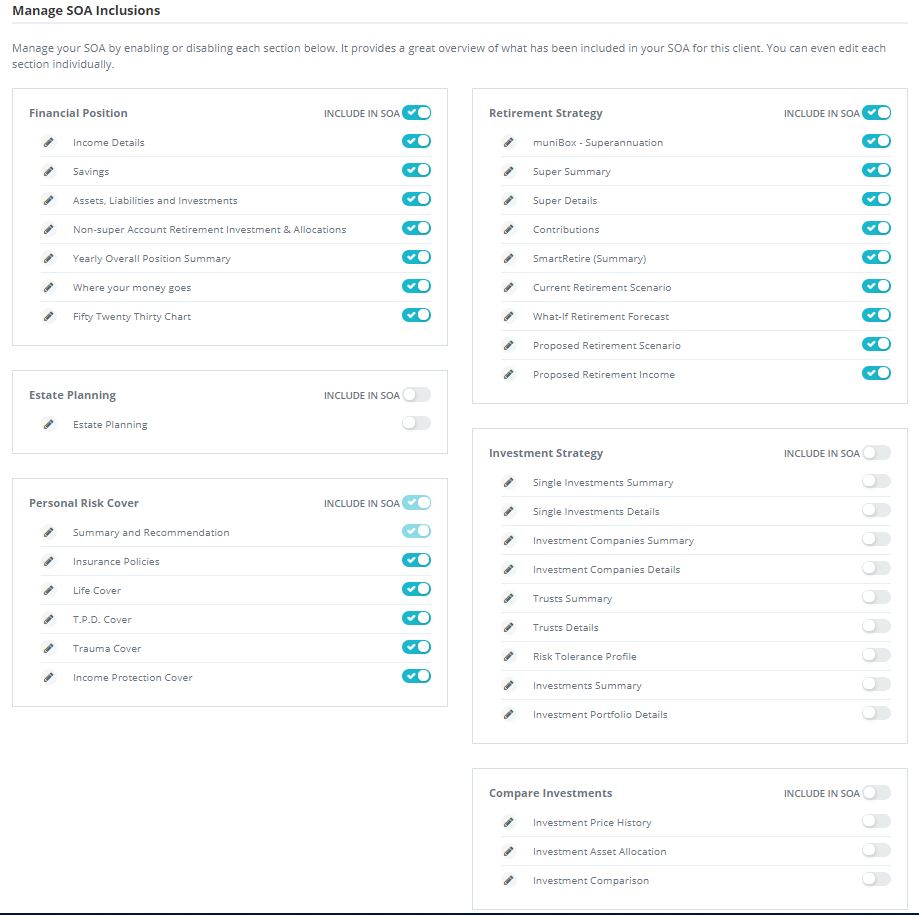
4. Manage SOA Inclusions
Select/Tick each required SOA section box and enter any required Summary and Recommendations notes by selecting the edit pencil.
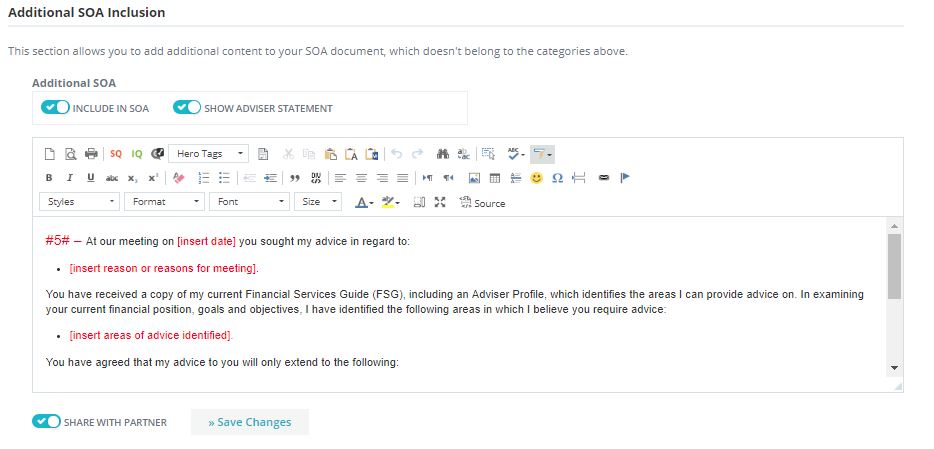
5. Additional SOA Inclusion
Select Additional SOA Inclusion and complete/review Adviser Statement by clicking on the “Show Adviser Statement” box. If the SOA is to be shared with the client’s partner, select “Share with Partner” to tick the box. Remember to save your changes when you have entered notes into the text box.
6. Additional Document Attachment
This section allows you to add additional documents which will be attached to your SOA document.

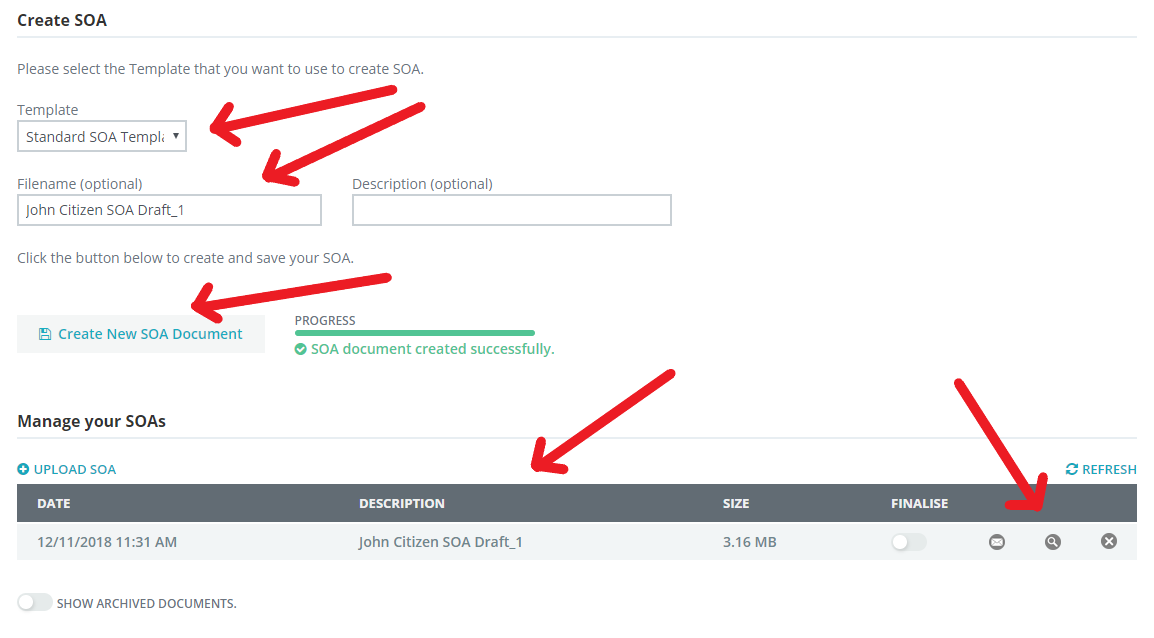
7. Create SOA
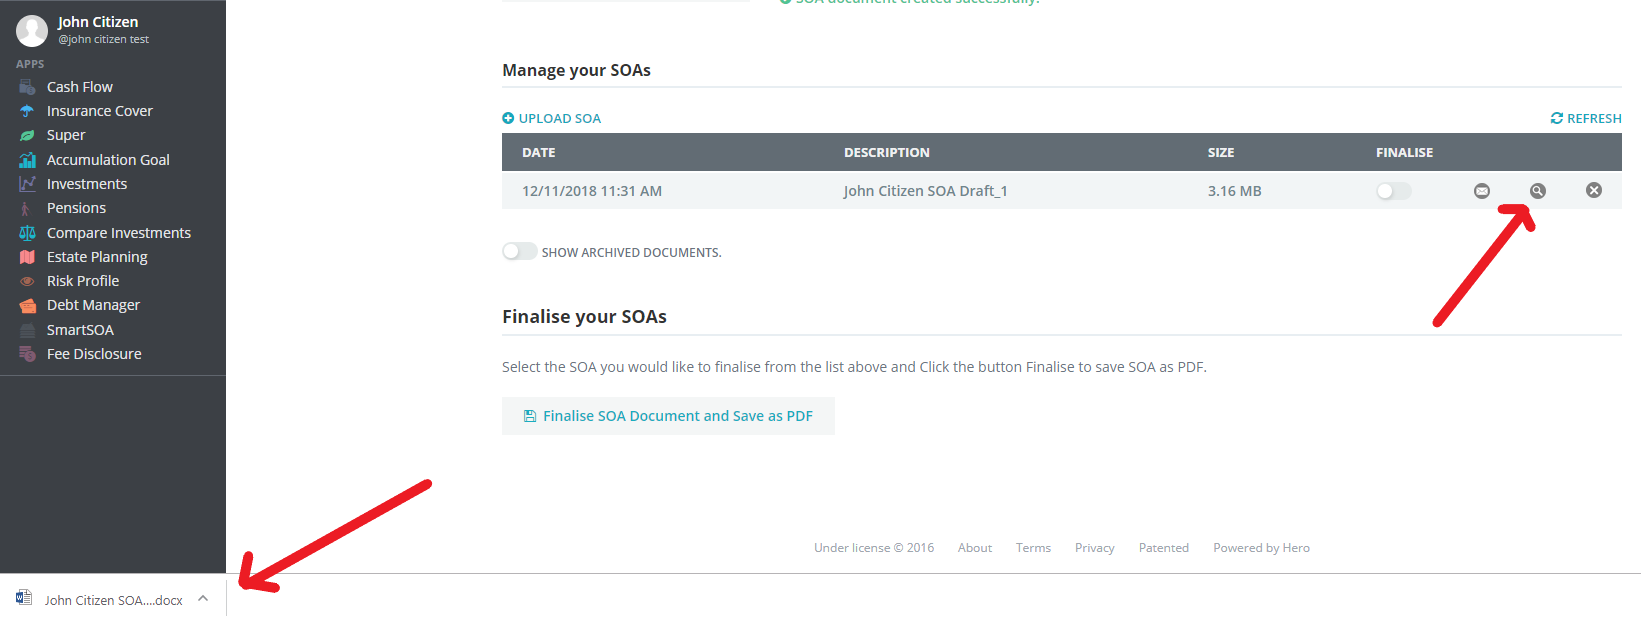
Select the SOA template that you wish to use. Enter a file name for the SOA document and click on the “Create New SOA Document” to create your draft SOA. The newly created SOA document will appear in the “Manage your SOA’s. To access/open your SOA document, select the magnifying glass symbol. This will download a MS Word version of your SOA document to the bottom left hand corner of the Hero360 screen.
8. Review/Edit SOA Document
To access/open your SOA document, select the magnifying glass symbol. This will download a MS Word version of your SOA document to the bottom left hand corner of the Hero360 screen. Open your document by clicking on the Word document icon. Once reviewed/edited, save a copy to your computer.
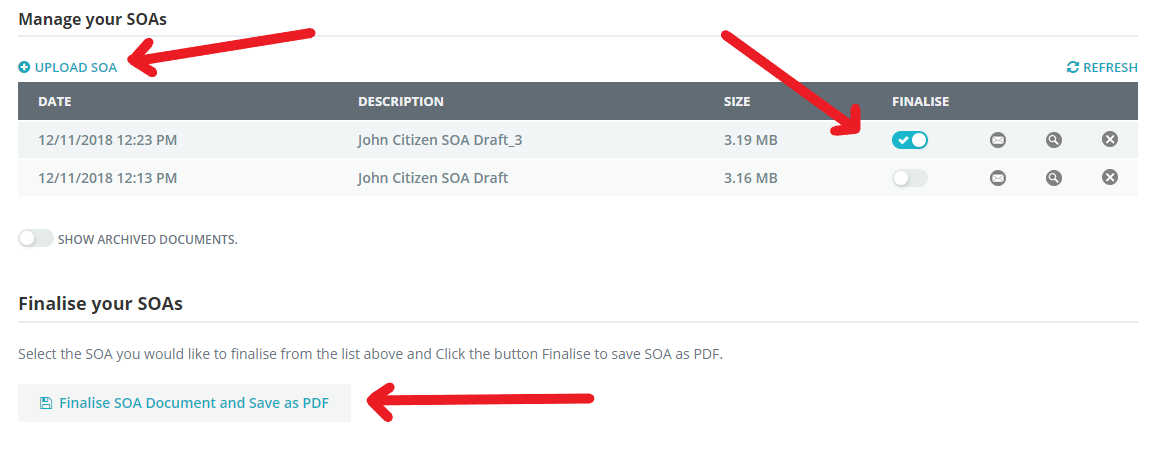
9. Finalise SOA Word Document and Save as PDF Document
Once you are satisfied with your updated/edited SOA Word document you will need to upload the updated/edited Word document back into your Hero360 client file. Firstly select “Upload SOA” and select the relevant file to upload from your computer, then select Save. When your updated/edited SOA document appears in the “Manage your SOA’s” section, select the Finalise icon to tick the box. Then select the “Finalise SOA Document and Save as PDF” button.
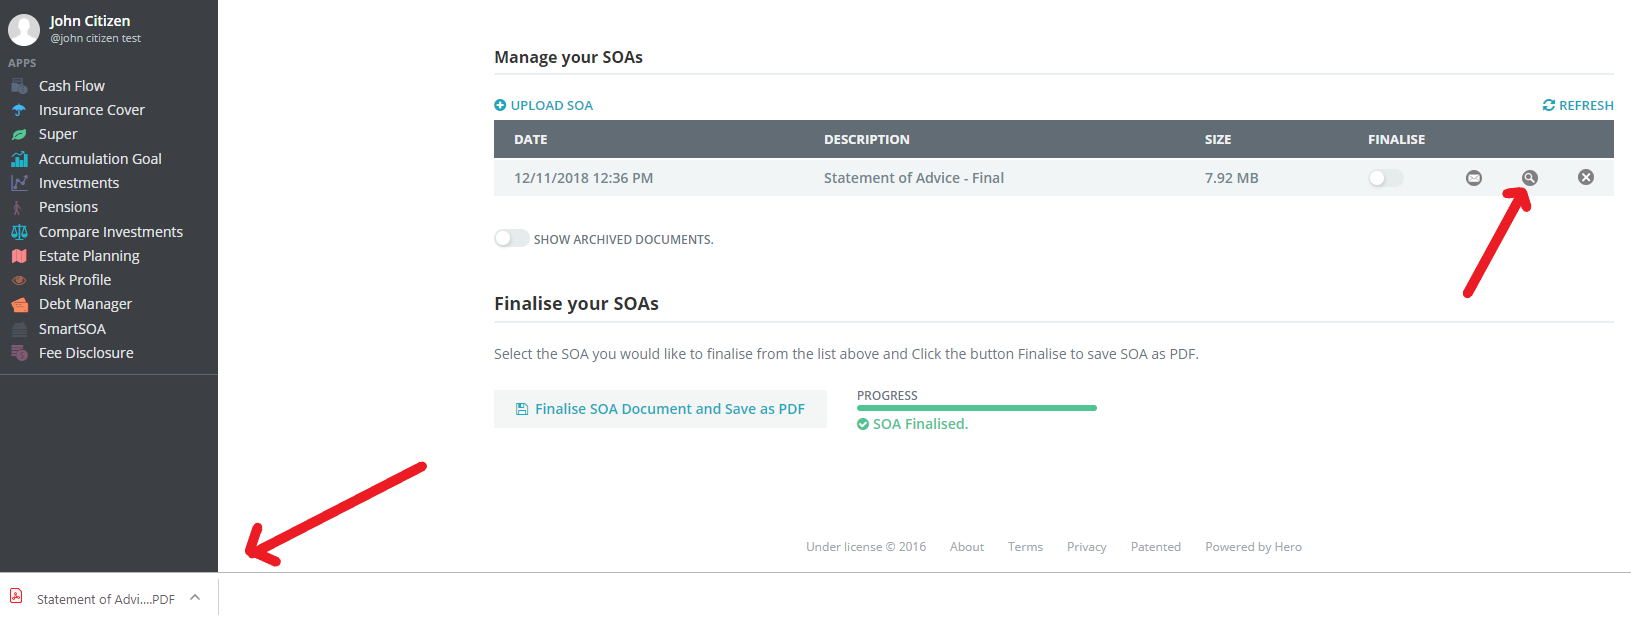
10. Finalised SOA PDF Document
To access your finalised SOA document, simply select the magnifying glass symbol of the finalised SOA document, This will download a PDF version of your SOA document to the bottom left hand corner of the Hero360 screen. Open your document by clicking on the PDF document icon.
0 Comments